
¡Guao, que tan gloriosa es Colombia! We've had an absolutely stunning start to our backpacking holiday — so good, in fact, that you'd be hard pressed to call it anything but luxurious!
So far as I can tell there are three reasons for this; the weather is perfection (always sunny, but a constant offshore breeze), the exchange rate is very much in our favour, and the abundance of Carribean fruits, cooking, and food of all kinds makes even thrown-together meals a whirlwind of deliciousness.
It's my ambition to head to a cookery class in each of the countries we go to, for making friends over food, and learning a little more about the culture. Cartagena's own Lunático Cooking Studio couldn't have been more what we were looking for!
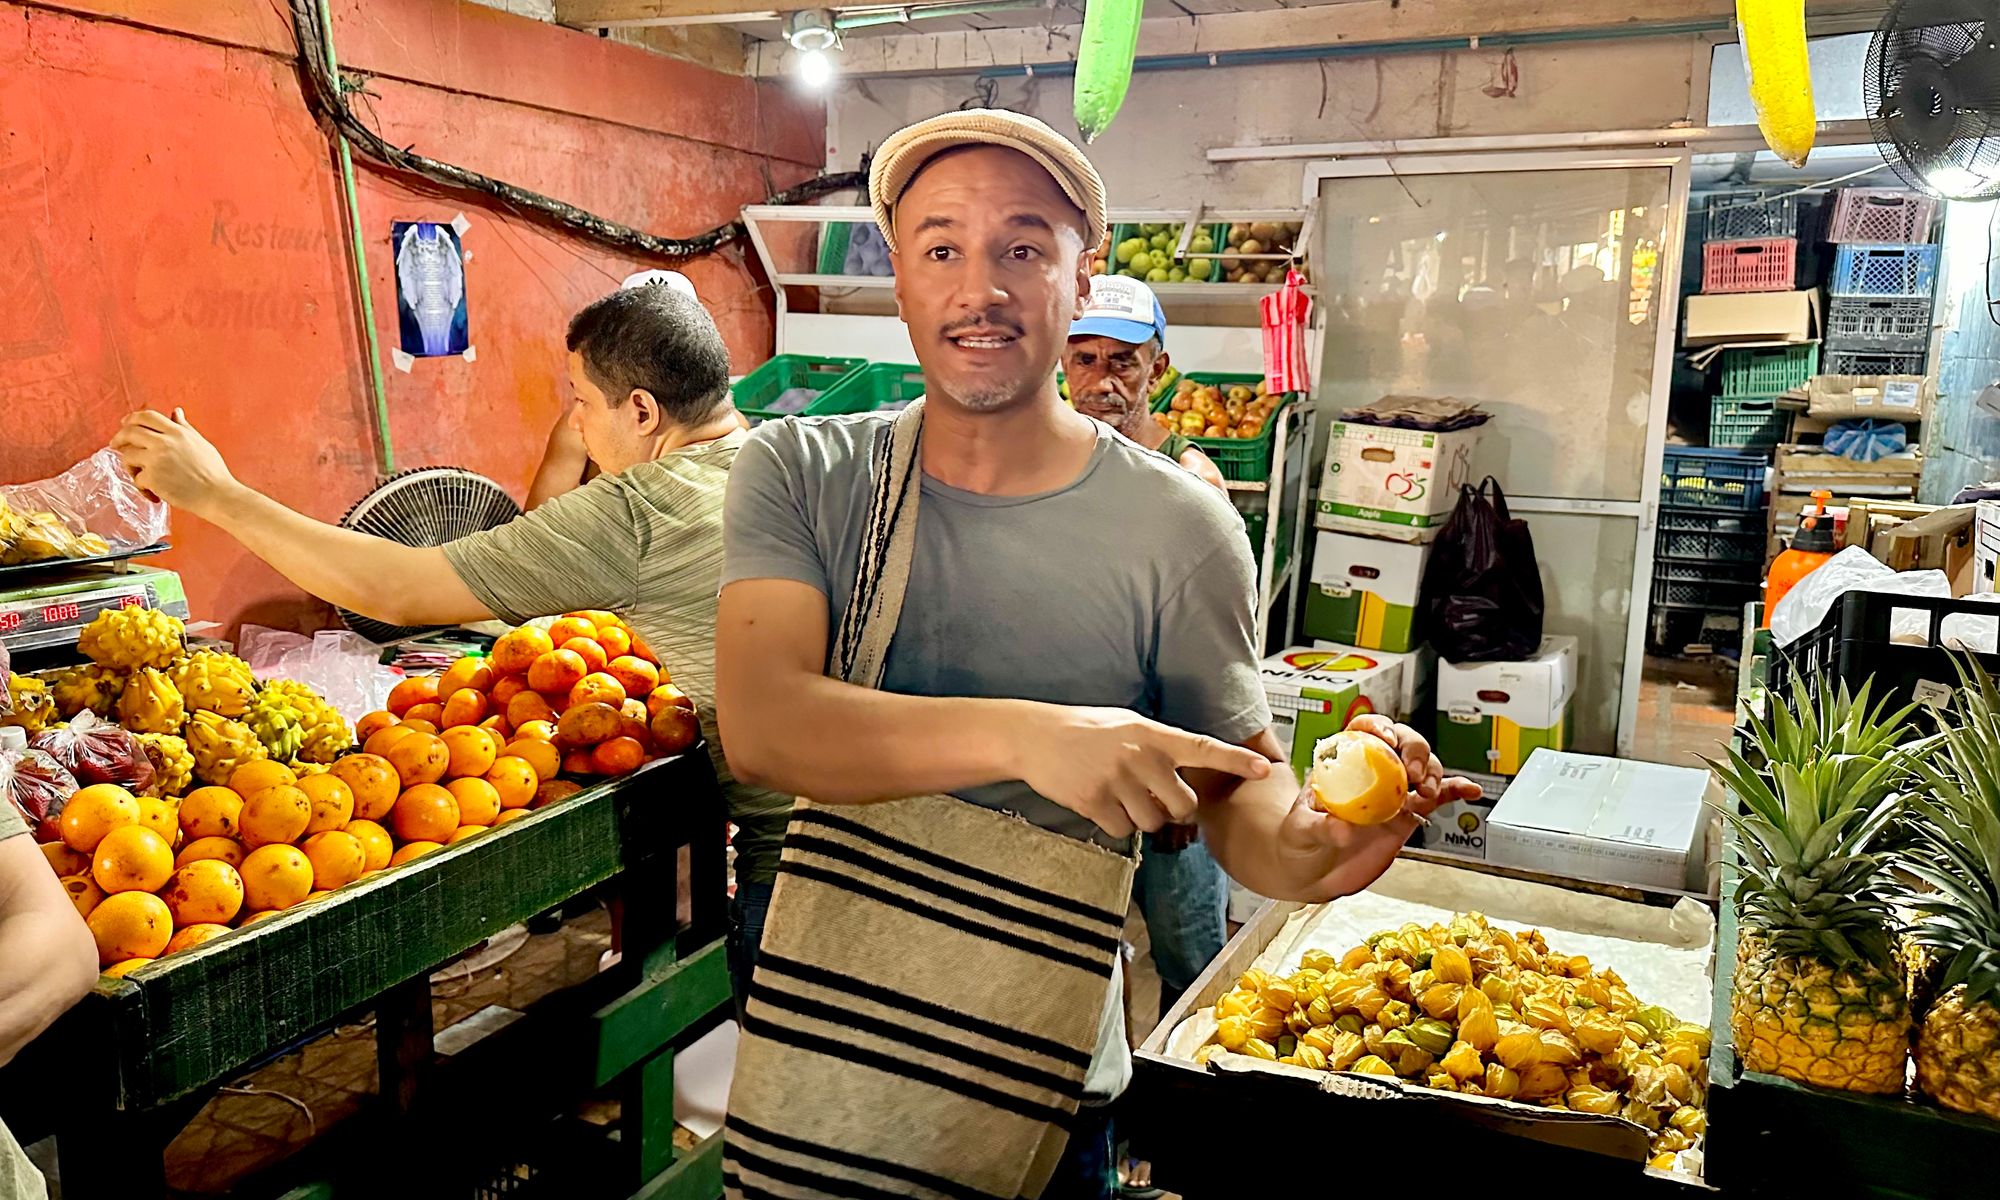
We started our Lunático experience early, visiting the city's enormous fresh produce market (4 street blocks square!) with our chef-to-be, and tasted every fruit and veg we could find. There were probably 20 I'd never seen before (and I have a love for trying new fruit when I travel), and even the ones I know from home had a richness of flavour that apparently only Carribean sun can provide — papaya will never be the same again.
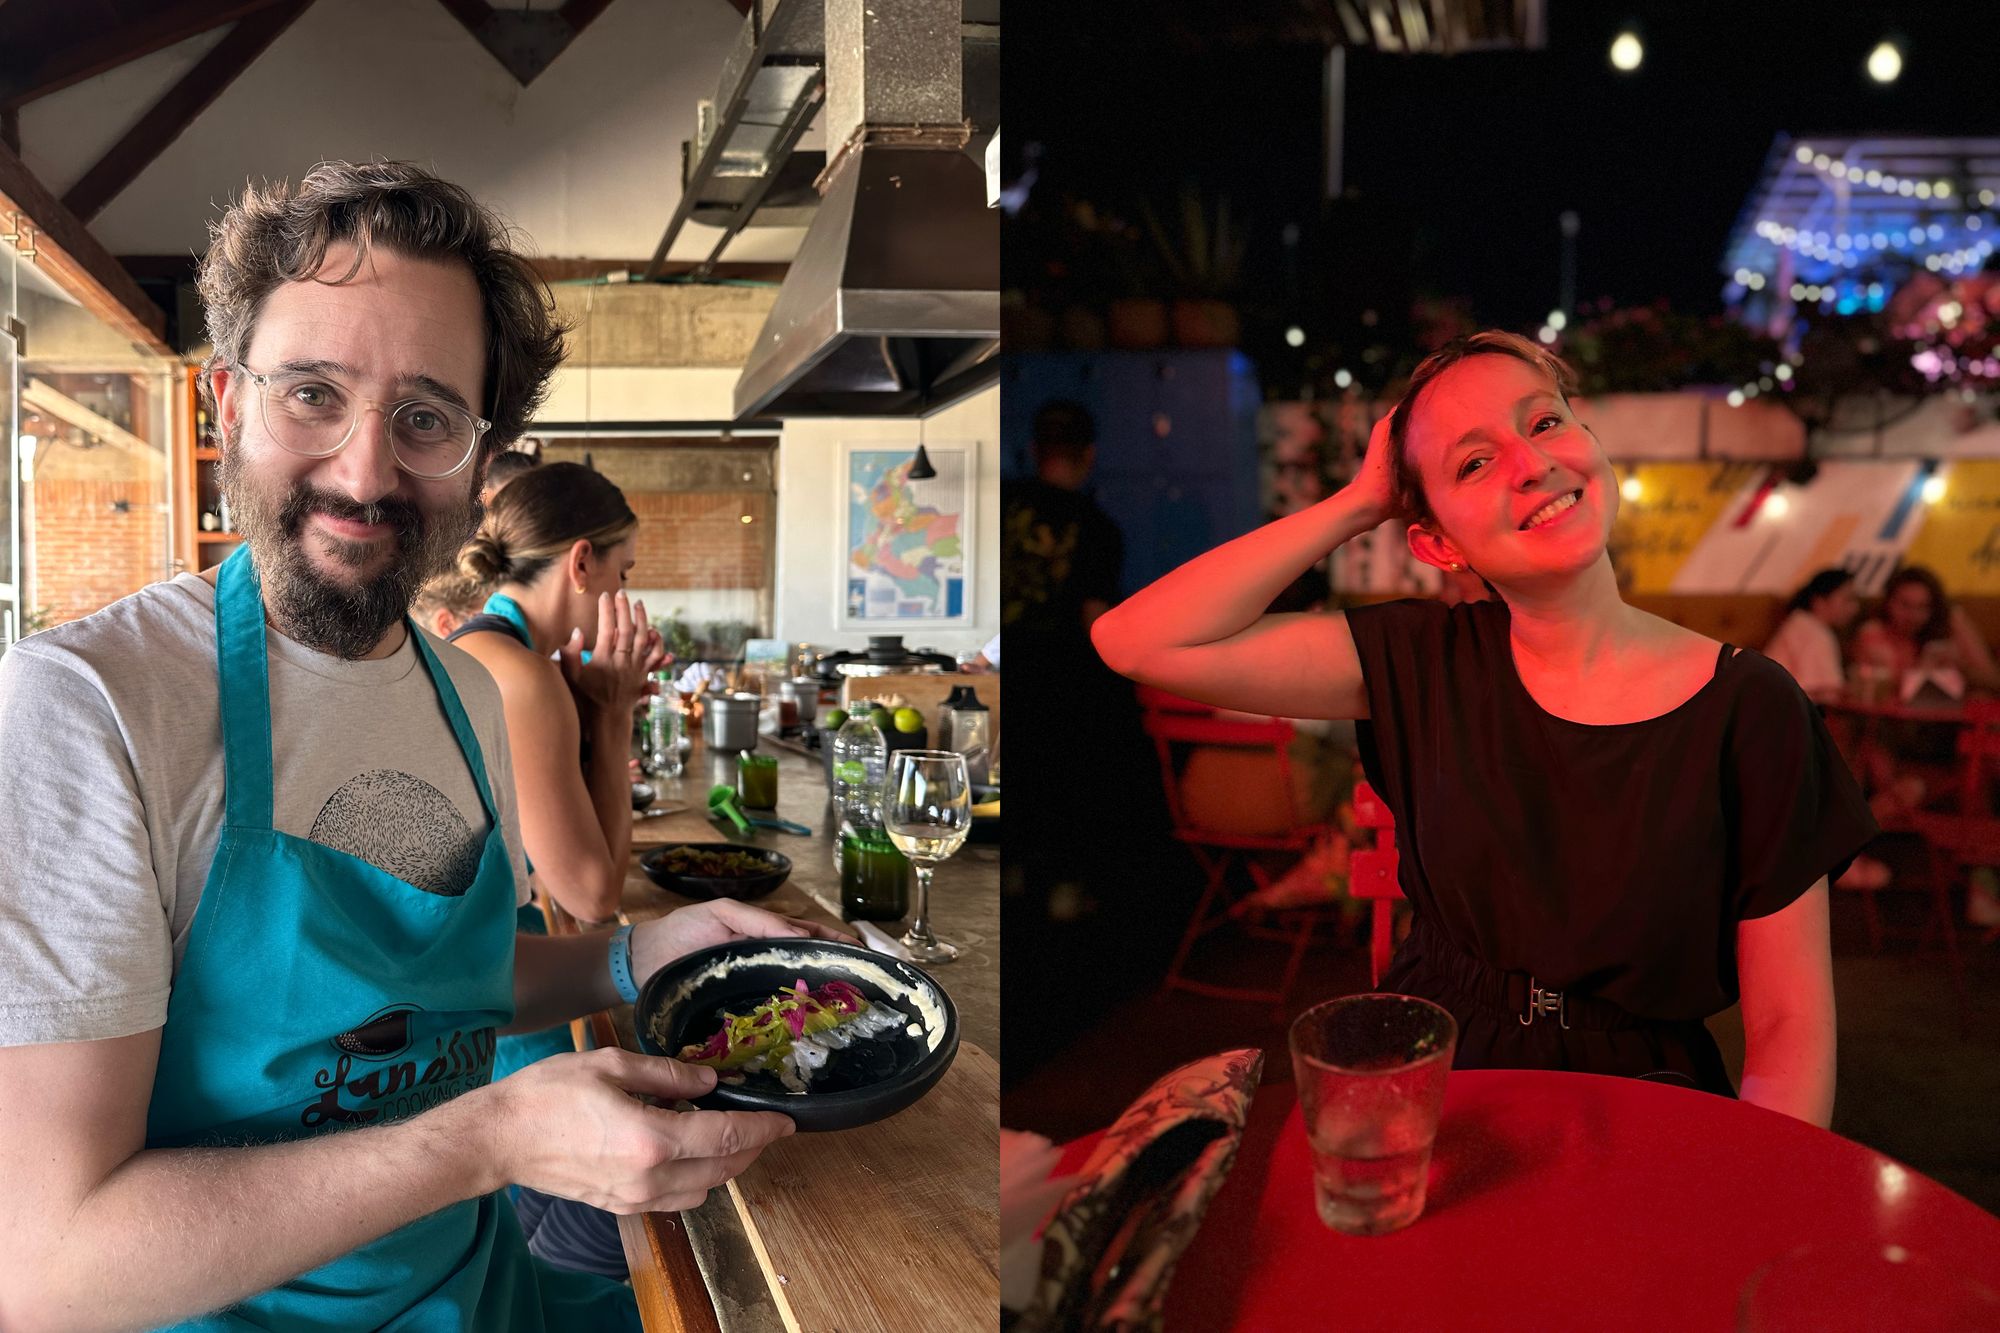
Those few hours of market wandering with new friends went by in a flash, and the hours of cooking class with them — learning just how sweet the Cartagenan tooth is! — were as delicious as they were fun. We had time for three courses; stunning Colombian ceviche made with a vegan banana emulsion/mayonaise, a taro & cheese soup called Mote de queso, and the most Colombian of combinations: Posta negra (blackened topside beef) and Arroz con coco (coconut rice). That rice is moreish to an extreme — it uses caramelized coconut milk and cane sugar to make every bite drive you further into addiction. The recipe is at the bottom. 😜
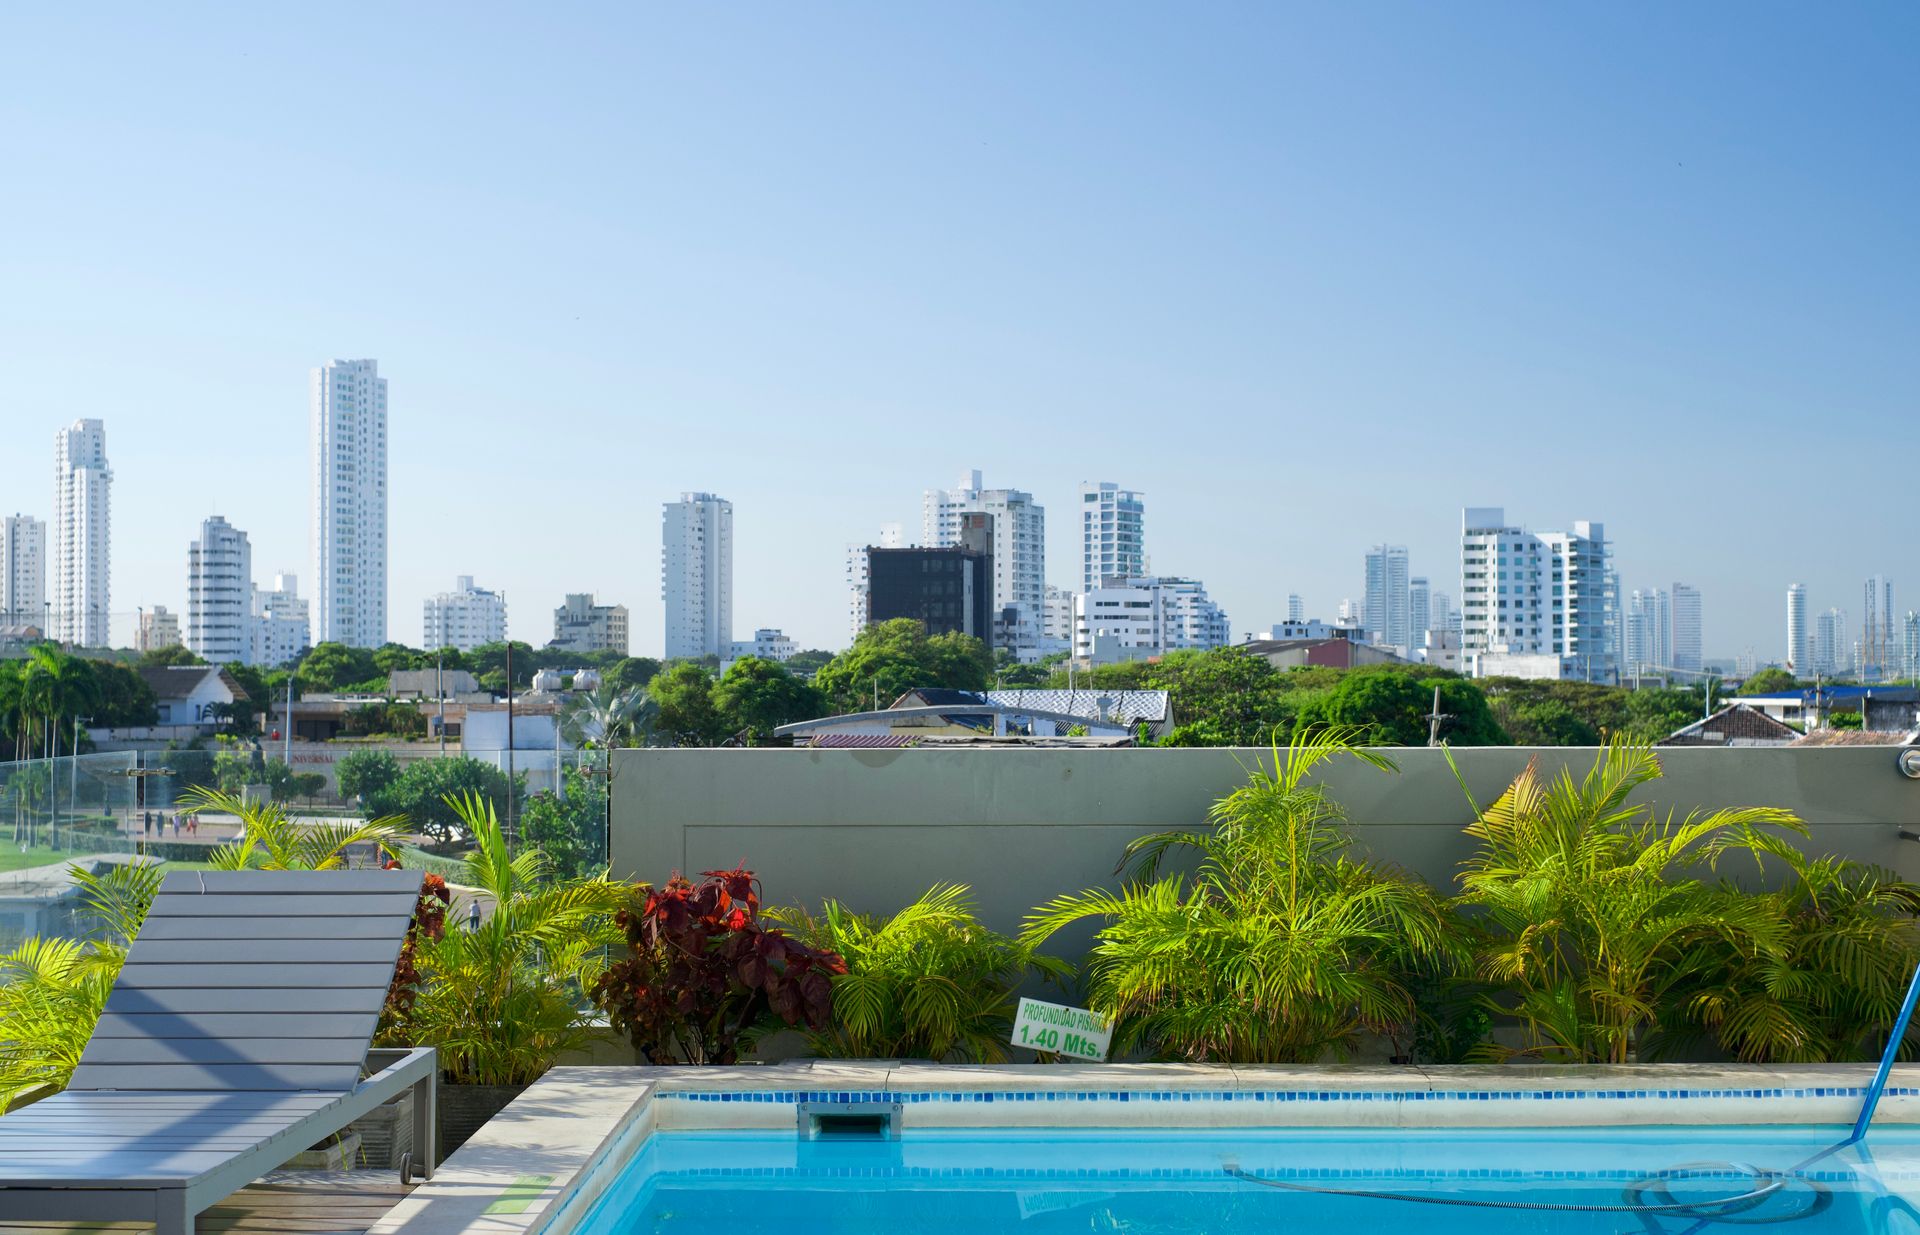
There's so much I could write about our 4 day stop in Cartagena (as I sit here in Bogota airport, waiting for our flight to Santiago de Chile), but the kind people and delicious food & drink stand apart. I'll leave you with another tale of deliciousness — the wonderful bar Alquímico. Though we didn't know it at the time it's clear why it's currently the 10th best bar in the world. These highly prized spots are given not just to amazing cocktail capabilities (and wow they have those), but also for the unusual and inventive.
Alquímico is certainly unique in Cartagena, with its three tiered bar, each floor with a different menu and vibe. The speakeasy-esque ground floor was particularly fun; we made friends with a Swiss barman there for a holiday and research—what a job! We got chatting, and discovered his favourite bar in London is our beloved local; so we'll certainly be visiting his bar if (when?) we visit Switzerland too.
Folks, it's time you visited Colombia, and its jewel Cartagena. The flight from the UK is a little long but so easy, and we'd definitely come back with you…
Arroz con coco (Brown coconut rice)
Truly delicious sweeter rice with clear, but not overpowering, coconut overtones. This is a real South American treat, and very common in Cartagena!
Source: Lunático Cooking Studio, Cartagena, Colombia
Servings: 4 people
Ingredients
- 1 fresh coconut
- 1 cup rice
- 1/4 cup raisins (optional)
- 2 tbsp panela (brown cane sugar; granulated will work)
- Salt, to taste
Instructions
- Start with the coconut. Identify the two “eyes” of the coconut: two small, round indentations on one of its sides. One of these eyes will be more tender than the other. Using a knife, poke a hole into the softer of the eyes. Using a flat-head screw driver that you pound with a mallet, open the other, harder eye. Pour out the coconut water into a bowl and reserve.
- Crack open the coconut by holding it on one hand (well above the table!) and hitting it with a thick stick (rolling pin works well) on its equator — you’ll likely need to bring your arm right back!
- Using a sharp knife, a flat head screw driver, or a spoon if you’re feeling as skilled as our chefs, separate and scrape out the white meat of the coconut. If the inner husk remains (a very thin brown layer) that’s fine.
- Cut the meat into 2-inch chunks and place in a blender with the reserved coconut water. Blend until the coconut is finely ground.
- Strain the pureed coconut mixture over a fine mesh strainer in a large bowl, pressing down with your fingers to make sure all of the liquid is squeezed out. This liquid is called the coconut’s “first milk.” Set it aside.
- Return the strained coconut solids to the blender along with 2 cups of fresh water. Blend until well mixed and repeat the straining process above over another bowl. This liquid is called the coconut’s “second milk” and it will be used to cook the rice. Set it aside. Discard the coconut solids.
- In a caldero or heavy bottomed pot over medium-high heat, bring the reserved first milk to a boil and add 1 tablespoon of sugar to help the caramelization.
- Reduce heat and allow to simmer, stirring occasionally, removing the milk that sticks to the sides of the pot. The milk will reduce, leaving behind solids. Allow the solids to brown slowly and caramelize. Keep stirring to make sure the solids don’t burn. Once they’ve reached a dark brown color (think the color of molasses) they’re ready.
- Add 2 cups of the reserved second milk. (If you don’t have enough second milk, add water to make the full 2 cups.) Wait until the caramel is dissolved in this water. Season it with salt to taste and introduce the rice.
- Increase the heat to medium high and bring the rice to a boil. When it starts drying, reduce heat to medium and continue boiling until most of the liquid has been absorbed and small craters form on the surface. Cover, reduce heat to low and cook for about 20 minutes, or until rice is cooked through. Fluff with a fork, cover and let rest for 10 minutes before serving.